Are you a Spring Boot developer looking to level up your templating game? If you've been using Thymeleaf and wondering how to achieve similar functionality with the Java Template Engine (JTE), you're in for a treat. In this tutorial, we'll take a look at layouts in Java Template Engine (JTE), a powerful and efficient templating engine that's gaining traction in the Spring ecosystem.
Introduction to JTE Layouts
JTE, or Java Template Engine, has been around for a while, but it's recently gained more attention after being added to the Spring Initializer. If you're not familiar with JTE, I recommend checking out my previous blog post for an introduction to this fantastic templating engine.
One of the most common questions I received after that introductory video was about creating layouts and fragments in JTE, similar to what developers are used to in Thymeleaf. Today, we're going to tackle that head-on and show you how to create reusable templates in your JTE-powered Spring Boot applications.
Setting Up Your Spring Boot Project
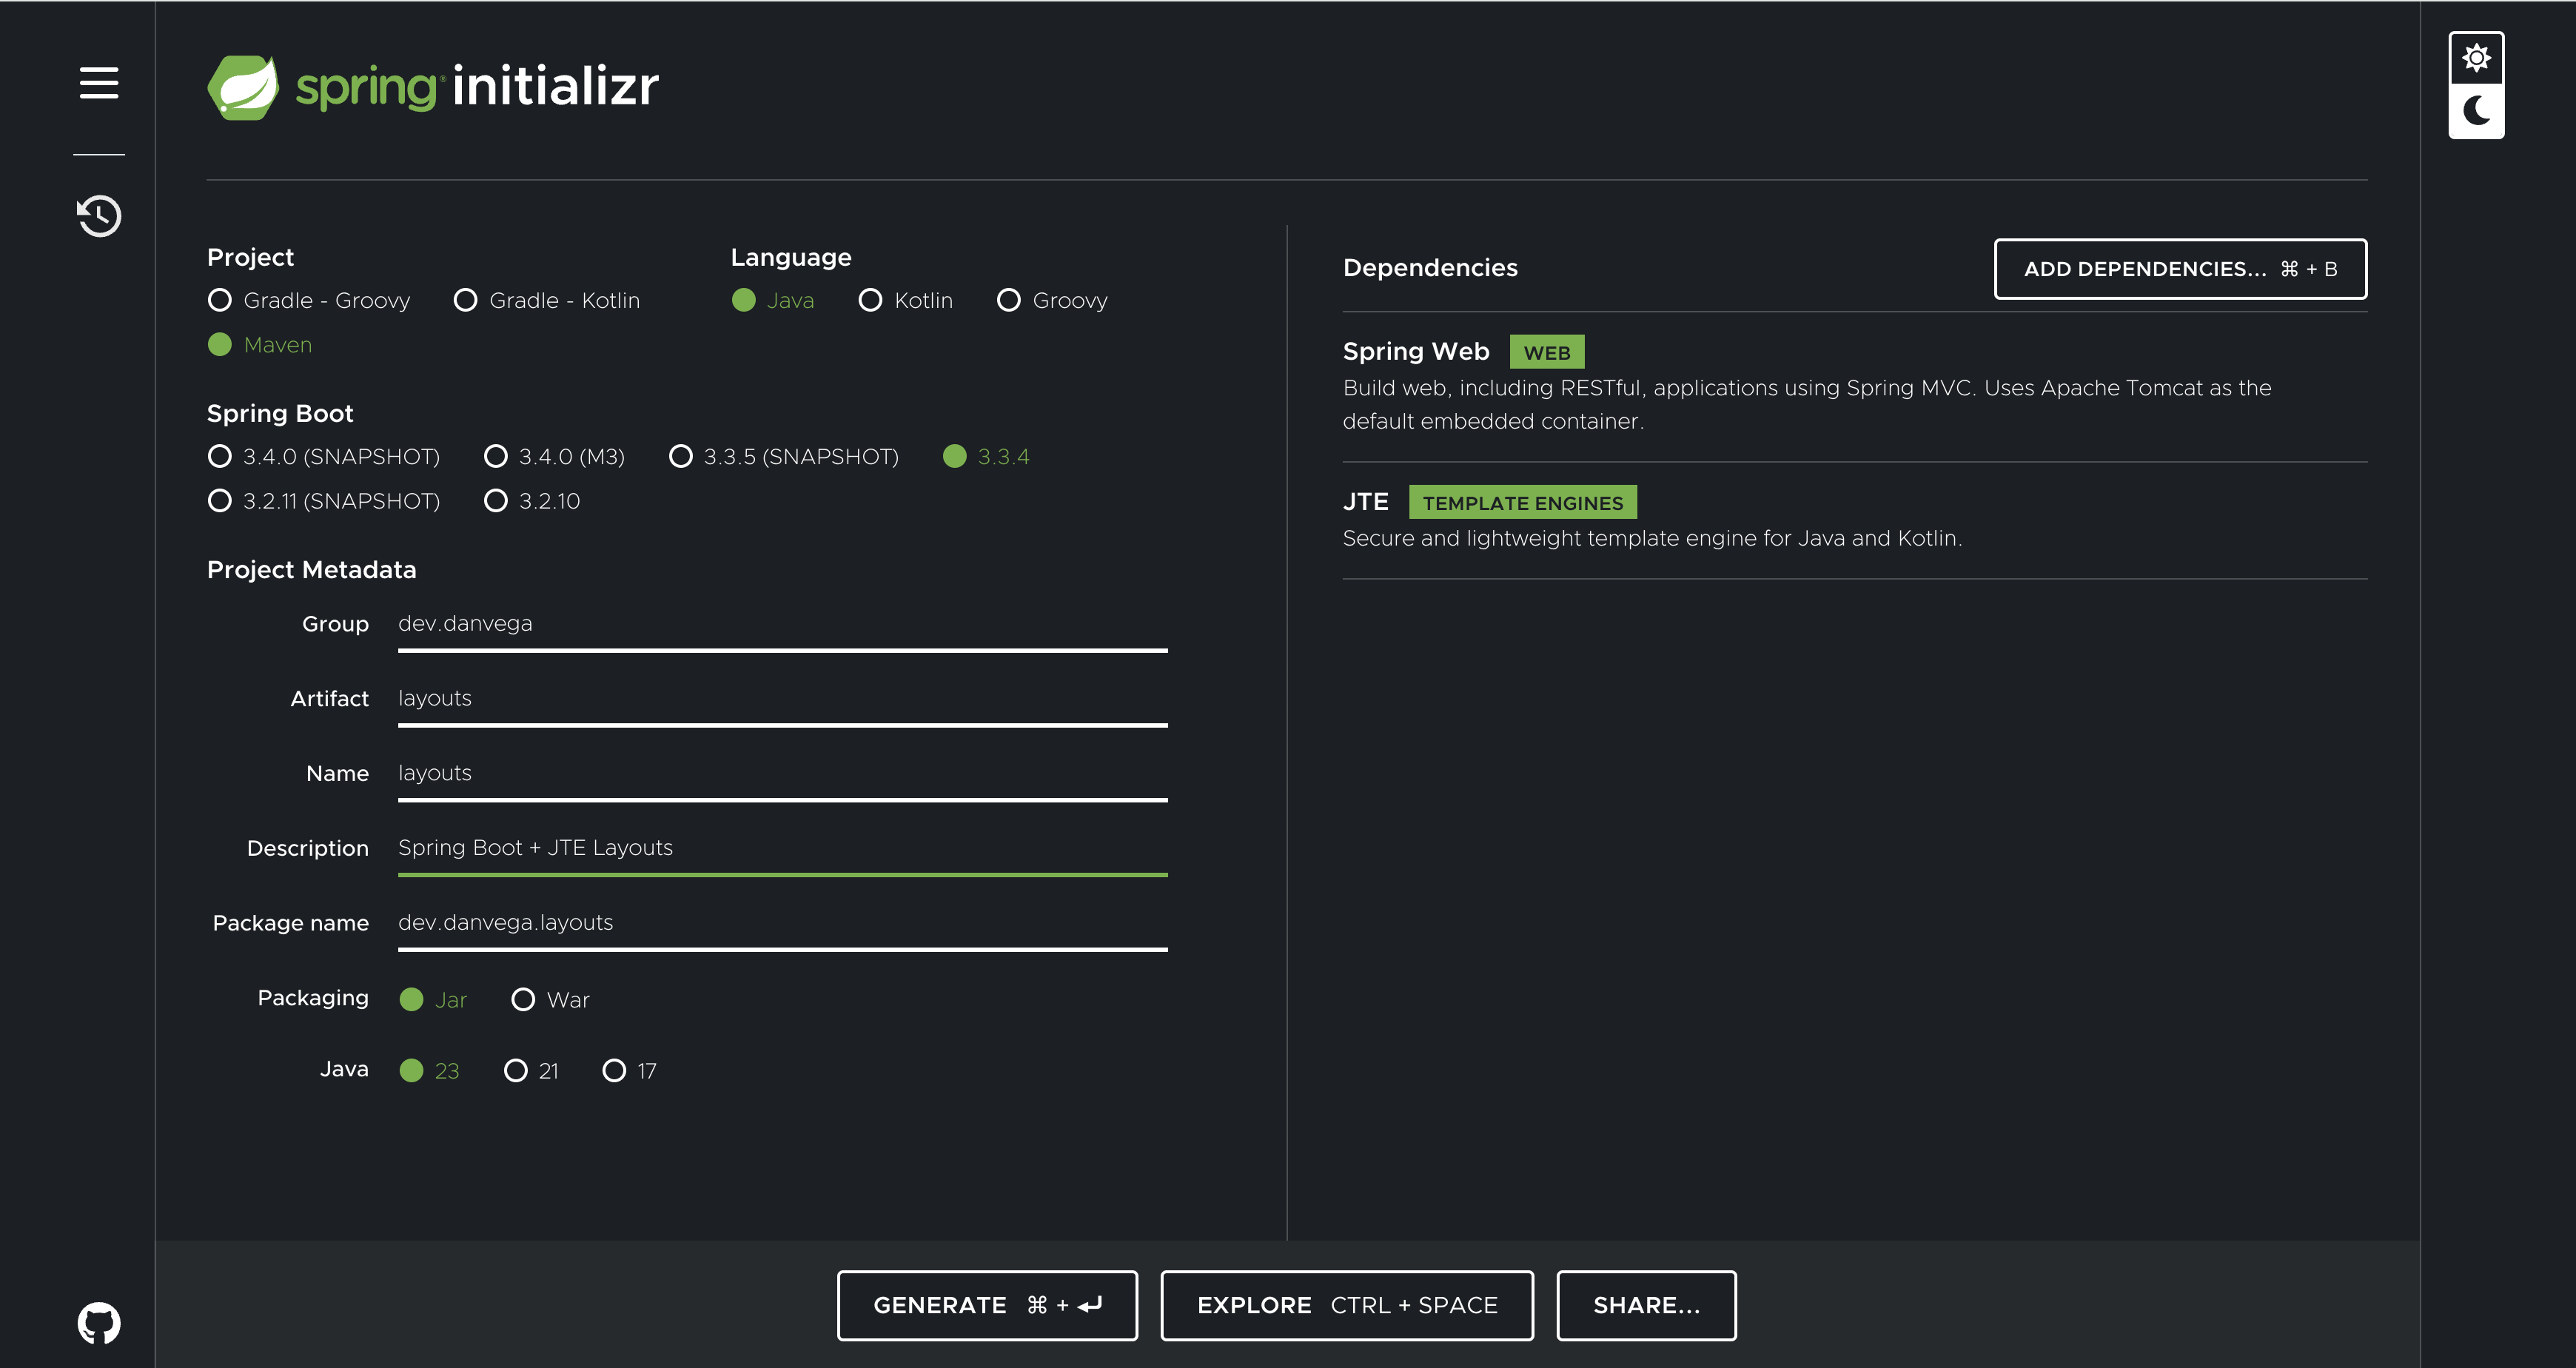
Let's start by creating a new Spring Boot project. Head over to start.spring.io and set up your project with the following dependencies:
- Spring Web
- JTE Template Engine
Creating a Layout Template
The first step in our templating journey is to create a main layout that will serve as the wrapper for our application. This layout will contain the common elements that appear on every page, such as the navigation bar and footer.
- In your project's
src/main/jtedirectory, create a new folder calledlayout. - Inside the
layoutfolder, create a file namedmain.jte. - Add the following code to
main.jte:
@param Content content
<!DOCTYPE html>
<html lang="en">
<head>
<meta charset="UTF-8">
<meta name="viewport" content="width=device-width, initial-scale=1.0">
<title>My JTE Application</title>
<script src="https://cdn.tailwindcss.com"></script>
</head>
<body class="bg-gray-100">
<nav class="bg-white shadow">
<!-- Navigation content -->
</nav>
<main class="container mx-auto mt-4 p-4">
${content}
</main>
<footer class="bg-white mt-8 py-4">
<!-- Footer content -->
</footer>
</body>
</html>
This layout uses Tailwind CSS for quick styling. The ${content} placeholder is where our page-specific content will be injected.
Creating Page Templates
Now that we have our main layout, let's create some page-specific templates:
- Create a
pagesfolder in thesrc/main/jtedirectory. - Inside
pages, createhome.jte,team.jte, andprojects.jte.
Here's an example of what home.jte might look like:
@param String username
@template.layout.main(content = @`
<div class="bg-white shadow rounded p-4">
<h1 class="text-2xl font-bold mb-4">Welcome, ${username}!</h1>
<p>This is your dashboard. Here you can view recent activity and manage your account.</p>
</div>
`)
Notice how we're using the @template.layout.main to wrap our content with the main layout.
Implementing the Controller
To tie everything together, we need a controller to handle the routing and pass data to our templates. Create a new class called TemplateController in your main package:
@Controller
public class TemplateController {
@GetMapping("/")
public String home(Model model) {
model.addAttribute("username", "John Doe");
return "pages/home";
}
@GetMapping("/team")
public String team(Model model) {
List<String> teamMembers = List.of("Alice", "Bob", "Charlie", "David");
model.addAttribute("teamMembers", teamMembers);
return "pages/team";
}
@GetMapping("/projects")
public String projects(Model model) {
model.addAttribute("username", "John Doe");
List<String> projects = List.of("Project A", "Project B", "Project C");
model.addAttribute("projects", projects);
return "pages/projects";
}
}
This controller sets up routes for our home, team, and projects pages, passing the necessary data to each template.
Running and Testing Your Application
With everything in place, you can now run your Spring Boot application. Visit http://localhost:8080 in your browser, and you should see your homepage with the main layout applied. Navigate to /team and /projects to see how the content changes while the layout remains consistent.
Advanced Template Techniques
JTE offers more advanced techniques for template reuse and composition:
- Partial Templates: You can create smaller, reusable template snippets (often called partials) and include them in your pages using the
@templatetag:@template.partials.header(title = "My Page Title") - Passing Content Blocks: You can pass entire blocks of content to your templates, allowing for more complex layouts:
@template.layout.main( content = @` <h1>Main Content</h1> <p>This is the main content of the page.</p> `, sidebar = @` <h2>Sidebar</h2> <ul> <li>Link 1</li> <li>Link 2</li> </ul> ` )
Conclusion
Templates in JTE offer a powerful and flexible way to structure your Spring Boot applications. By separating your layout from your page-specific content, you can create more maintainable and DRY (Don't Repeat Yourself) code.
As you become more comfortable with JTE, you'll find that it offers a clean and intuitive syntax for creating complex layouts and reusable components. Its integration with Spring Boot makes it an excellent choice for developers looking for a modern, efficient templating solution.
Ready to take your JTE skills to the next level? Stay tuned for our upcoming tutorial on integrating JTE with HTMX, where we'll explore even more powerful ways to create dynamic web applications with Spring Boot.
Happy coding, and may your templates always be clean and your layouts always responsive!
Related Articles
Building a Spring Initializr Terminal UI with Java
How I built a terminal user interface for the Spring Initializr using Tambu UI, a new Java TUI framework, and GraalVM native images to streamline my development workflow.
Building a Spring Boot 4 REST API the Fast Way
Learn how to build a REST API with Spring Boot 4 in minutes. This tutorial shows you how to create CRUD endpoints using Java records and the @RestController annotation.
Spring Boot 4 Modularization: Fix Auto-Configuration Issues After Upgrading
Upgraded to Spring Boot 4 and features stopped working? Learn how the new modular auto-configuration architecture affects your migration and how to fix common issues like the H2 console not appearing.