Hello, fellow developers! Dan Vega here, and today we're diving into an exciting topic: working with forms using Java Template Engine (JTE) in Spring Boot applications. If you've been following along with my recent posts on JTE, you know it's a powerful new addition to the Spring ecosystem. Today, we're addressing a common question: "How can we bind objects to forms in JTE, similar to Thymeleaf's th:object and th:text?"
The Power of JTE in Form Handling
Good news! It's surprisingly simple to work with forms in JTE. We can easily include an object in our page and bind form fields to its properties. For instance, we can say user.getFirstName() to populate a field with the user's first name. Let's build a practical example to showcase this functionality.
Our Project: A Feature-Rich User Registration Form
We're going beyond a basic example today. We'll create a fully functional user registration system with the following features:
- A visually appealing form using Tailwind CSS
- Form submission handling
- Data persistence in a PostgreSQL database
- Docker integration for easy database setup
- Validation and error handling
Setting Up the Project
To get started quickly, I've prepared a Spring Initializr configuration with all the necessary dependencies. Here's what we're using:
- Spring Web
- JTE (now available in Spring Initializr!)
- Spring Data JDBC for database operations
- PostgreSQL driver
- Spring Boot Docker Compose support
- Spring Boot DevTools for development convenience
You can check out the GitHub Repository for all the source code we are going to go through.
Key Components of Our Application
1. The User Model
We'll start by creating a User class to represent our form data:
@Table("users")
public class User {
@Id
private Long id;
@NotBlank(message = "First Name should not be blank.")
private String firstName;
@NotBlank(message = "Last Name should not be blank.")
private String lastName;
private String email;
// ... other fields, getters, and setters
}
2. The User Repository
Next, we'll create a simple repository interface:
public interface UserRepository extends CrudRepository<User, Long> {
}
3. The Controller
Our controller will handle form display and submission:
@Controller
public class UserController {
private final UserRepository repository;
@GetMapping("/")
public String index(Model model) {
model.addAttribute("user", new User());
return "index";
}
@PostMapping("/save")
public String saveUser(@Valid User user, Model model) {
repository.save(user);
model.addAttribute("message", "User information saved successfully!");
return "index";
}
// ... error handling methods
}
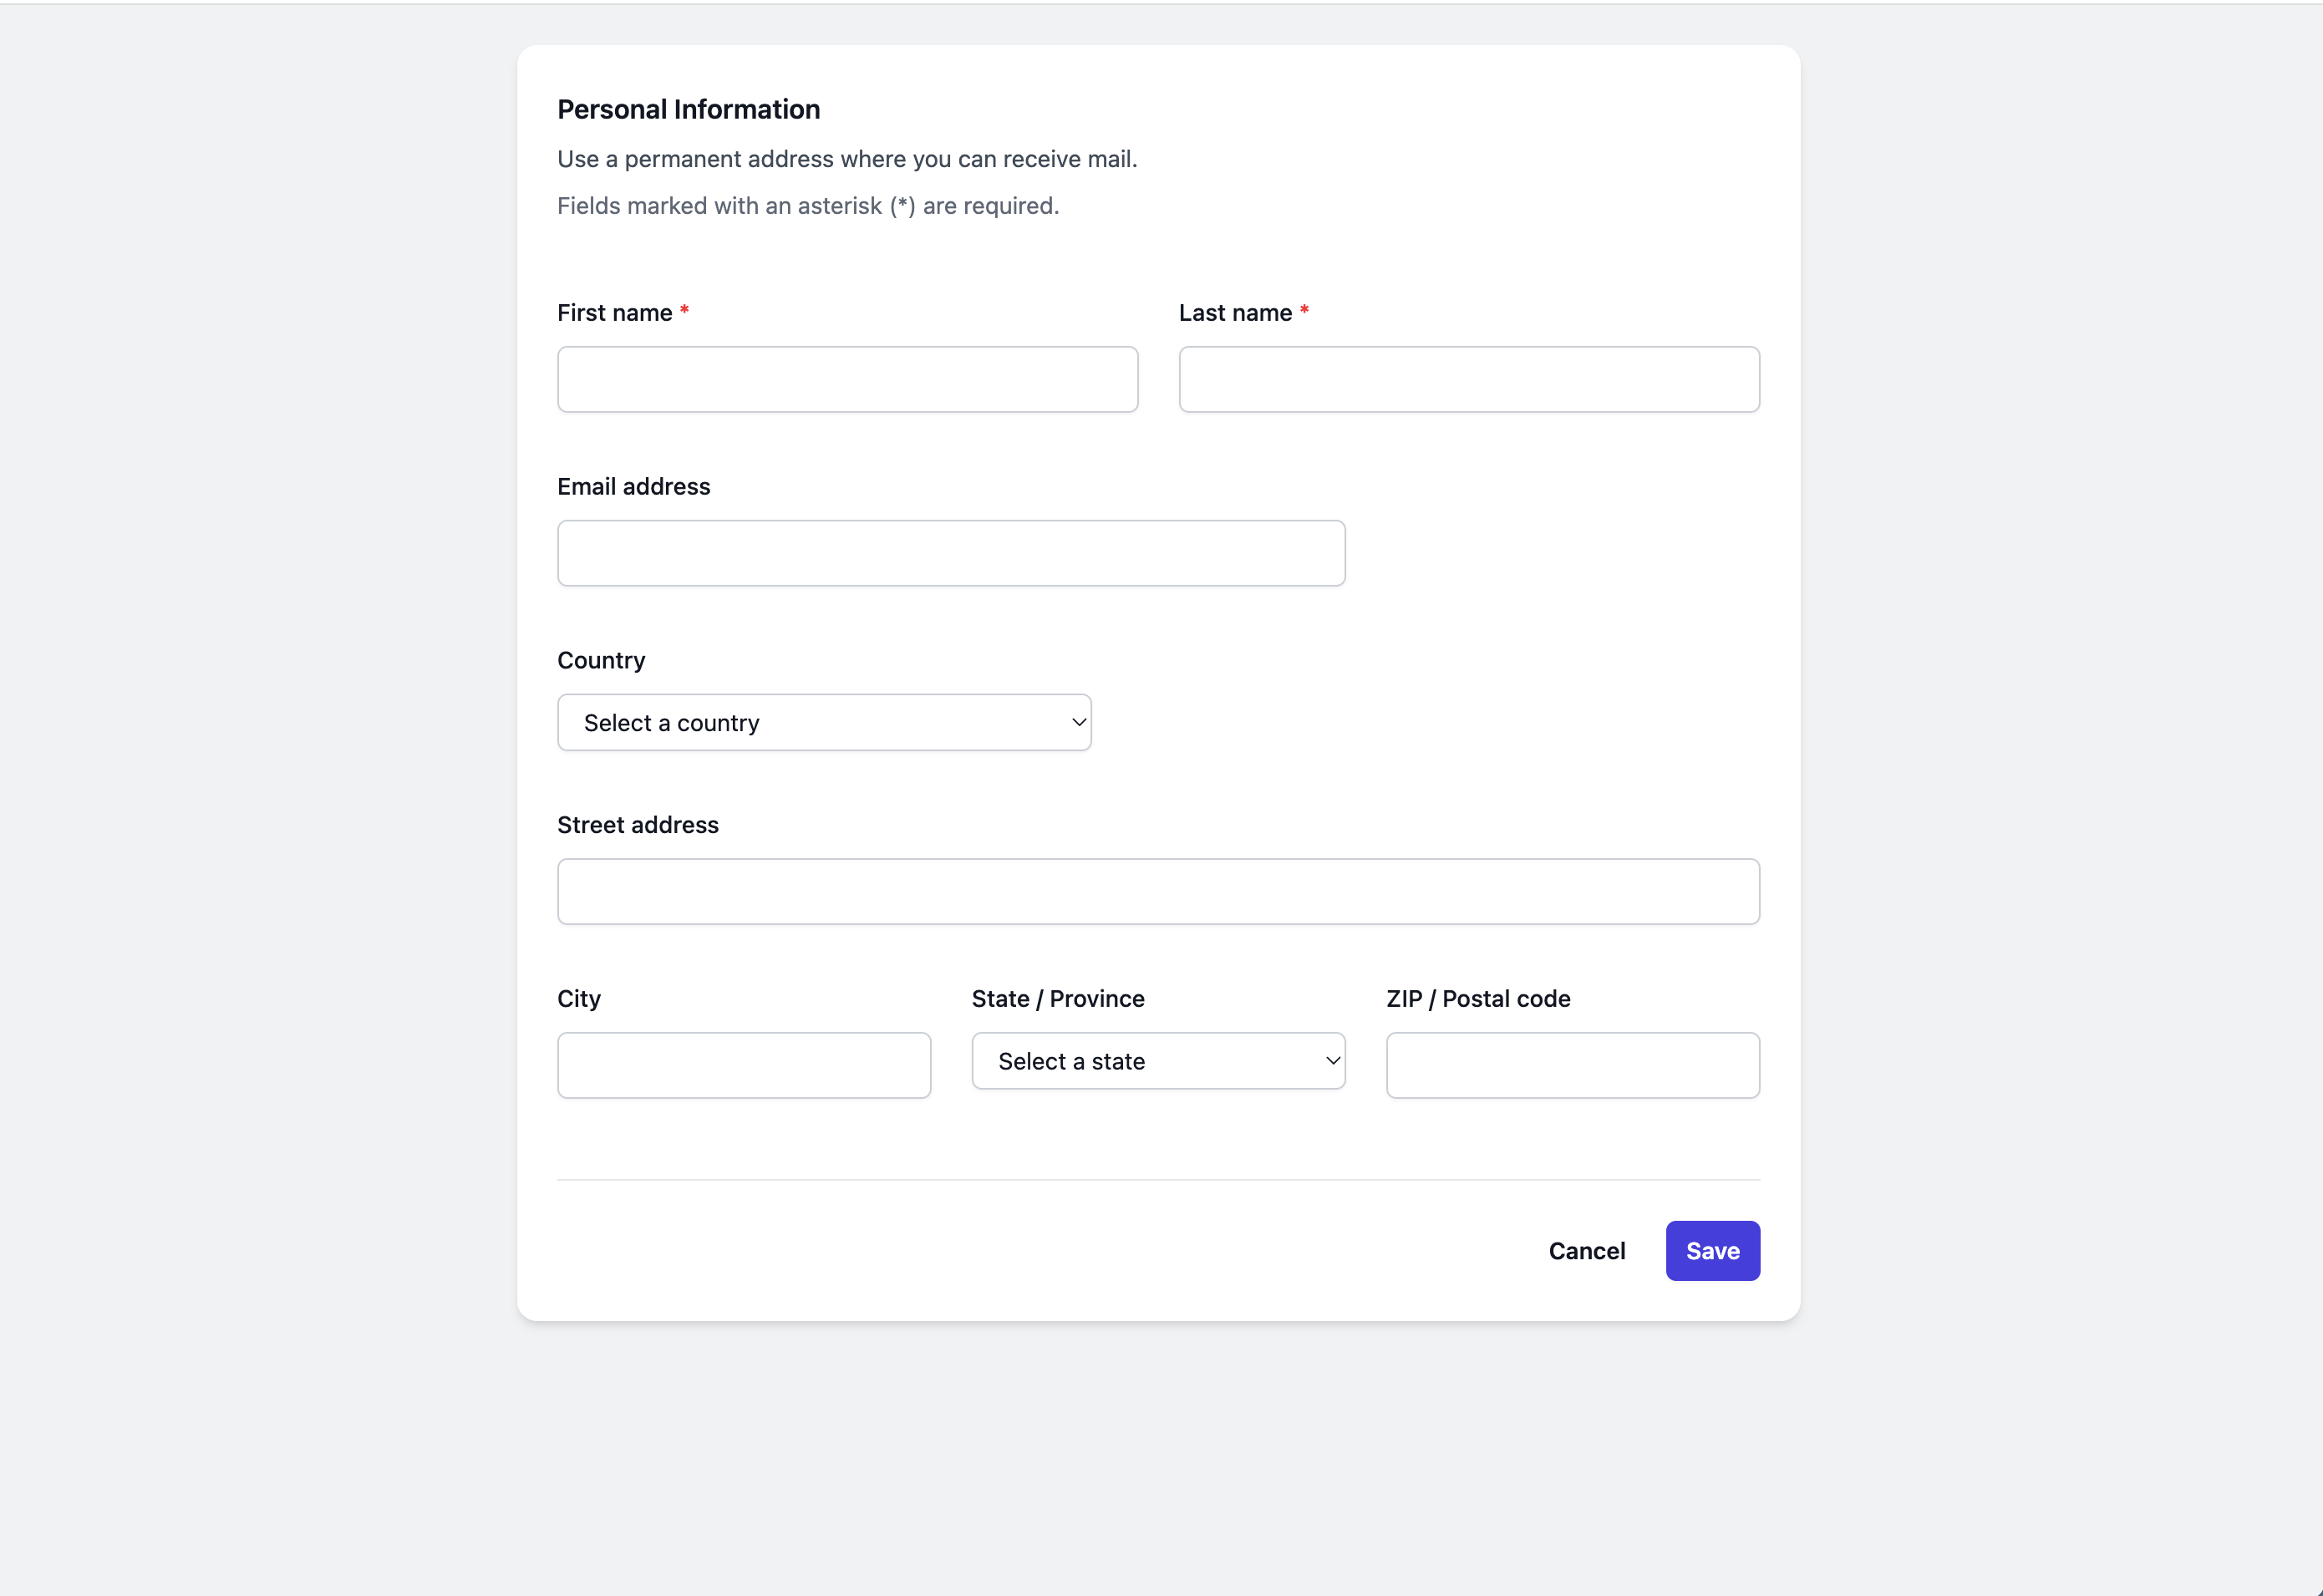
4. The JTE Template
Here's where the magic happens. Our index.jte file will look something like this:
@param User user
@param String message
@param String error
<form method="post" action="/save">
<input type="text" name="firstName" value="${user.firstName}">
<input type="text" name="lastName" value="${user.lastName}">
<!-- More form fields -->
<button type="submit">Save</button>
</form>
@if(message != null)
<div>${message}</div>
@endif
@if(error != null)
<div>${error}</div>
@endif
Adding Validation and Error Handling
We'll use Spring's validation framework to ensure data integrity:
- Add
@NotBlankannotations to required fields in theUserclass. - Use
@Validin the controller'ssaveUsermethod. - Implement an exception handler for validation errors:
@ExceptionHandler(MethodArgumentNotValidException.class)
public String handleValidationExceptions(MethodArgumentNotValidException ex, Model model) {
User user = (User) ex.getBindingResult().getTarget();
model.addAttribute("user", user);
model.addAttribute("error", "Please fill out all required fields.");
return "index";
}
Running the Application
With Docker installed, simply run your application, and Spring Boot will automatically start a PostgreSQL container for you. Access your form at http://localhost:8080, and you're ready to go!
Conclusion
And there you have it! We've built a robust user registration system using Spring Boot and JTE. This example demonstrates how easy it is to work with forms in JTE, rivaling the convenience of Thymeleaf's form binding capabilities.
Key takeaways:
- JTE offers a clean, intuitive syntax for template creation
- Binding form fields to object properties is straightforward in JTE
- Spring Boot's integration with Docker Compose simplifies database setup
- Validation and error handling can be implemented efficiently
I hope this tutorial helps you in your journey with Spring Boot and JTE.
Happy coding, friends! Until next time!
Don't forget to check out the full source code on my GitHub repository: https://github.com/danvega/jte-forms
Related Articles
GraphQL for Java Developers
Learn how to build scalable GraphQL APIs with Java 26 and Spring Boot 4. This course walks you through schema-first development, batch loading, unions, Query by Example, AOT repositories, and more.
Spring, Build Me a Coding Agent
Learn how to build an autonomous coding agent in Spring AI using the Spring AI Agent Utils library. This tutorial walks you through creating a CLI-based agent with file system access, shell commands, and skills.
Building a Spring Initializr Terminal UI with Java
How I built a terminal user interface for the Spring Initializr using Tambu UI, a new Java TUI framework, and GraalVM native images to streamline my development workflow.