Are you looking to extend the capabilities of AI models like Claude by connecting them to your custom data and services? Model Context Protocol (MCP) provides a standardized way to do exactly that, and Spring AI makes implementing your own MCP server surprisingly straightforward. In this tutorial, I'll walk you through creating your first MCP server from scratch using Spring Boot and Spring AI.
What is Model Context Protocol?
Model Context Protocol (MCP) is an open standard that defines how AI models communicate with external tools and data sources. It enables AI models to interact with your custom services through a standardized interface, making it possible for models to:
- Access private or proprietary data
- Perform specialized calculations
- Execute custom business logic
- Interact with external systems
Think of MCP as a bridge between AI models and the broader digital ecosystem, allowing models to go beyond their training data and interact with real-time information.
Why Build an MCP Server with Spring AI?
If you're a Java developer already familiar with the Spring ecosystem, building MCP servers with Spring AI offers several advantages:
- Simplified Development: Spring AI abstracts away much of the complexity of implementing the MCP specification
- Familiar Programming Model: Use standard Spring concepts like dependency injection and component scanning
- Integration with Spring Boot: Leverage the full power of the Spring Boot ecosystem
- Multiple Transport Options: Support for STDIO, HTTP, WebSocket, and RSocket
Project Overview
In this tutorial, we'll build a simple MCP server that provides information about programming courses. Our server will expose two tools:
- A tool to retrieve all available courses
- A tool to find a specific course by title
This straightforward example will demonstrate the core concepts of MCP server development while giving you a foundation you can extend for your own needs.
Prerequisites
Before we begin, make sure you have:
- Java Development Kit (JDK) 17 or higher
- Maven or Gradle for dependency management
- A basic understanding of Spring Boot
- An MCP client for testing (we'll use Claude Desktop in this tutorial)
Setting Up Your Project
Let's start by creating a new Spring Boot project. The easiest way is to use the Spring Initializer at start.spring.io.
Configure your project with:
- Project: Maven
- Language: Java
- Spring Boot: Latest version (3.4.x at the time of writing)
- Dependencies: Spring AI MCP Server
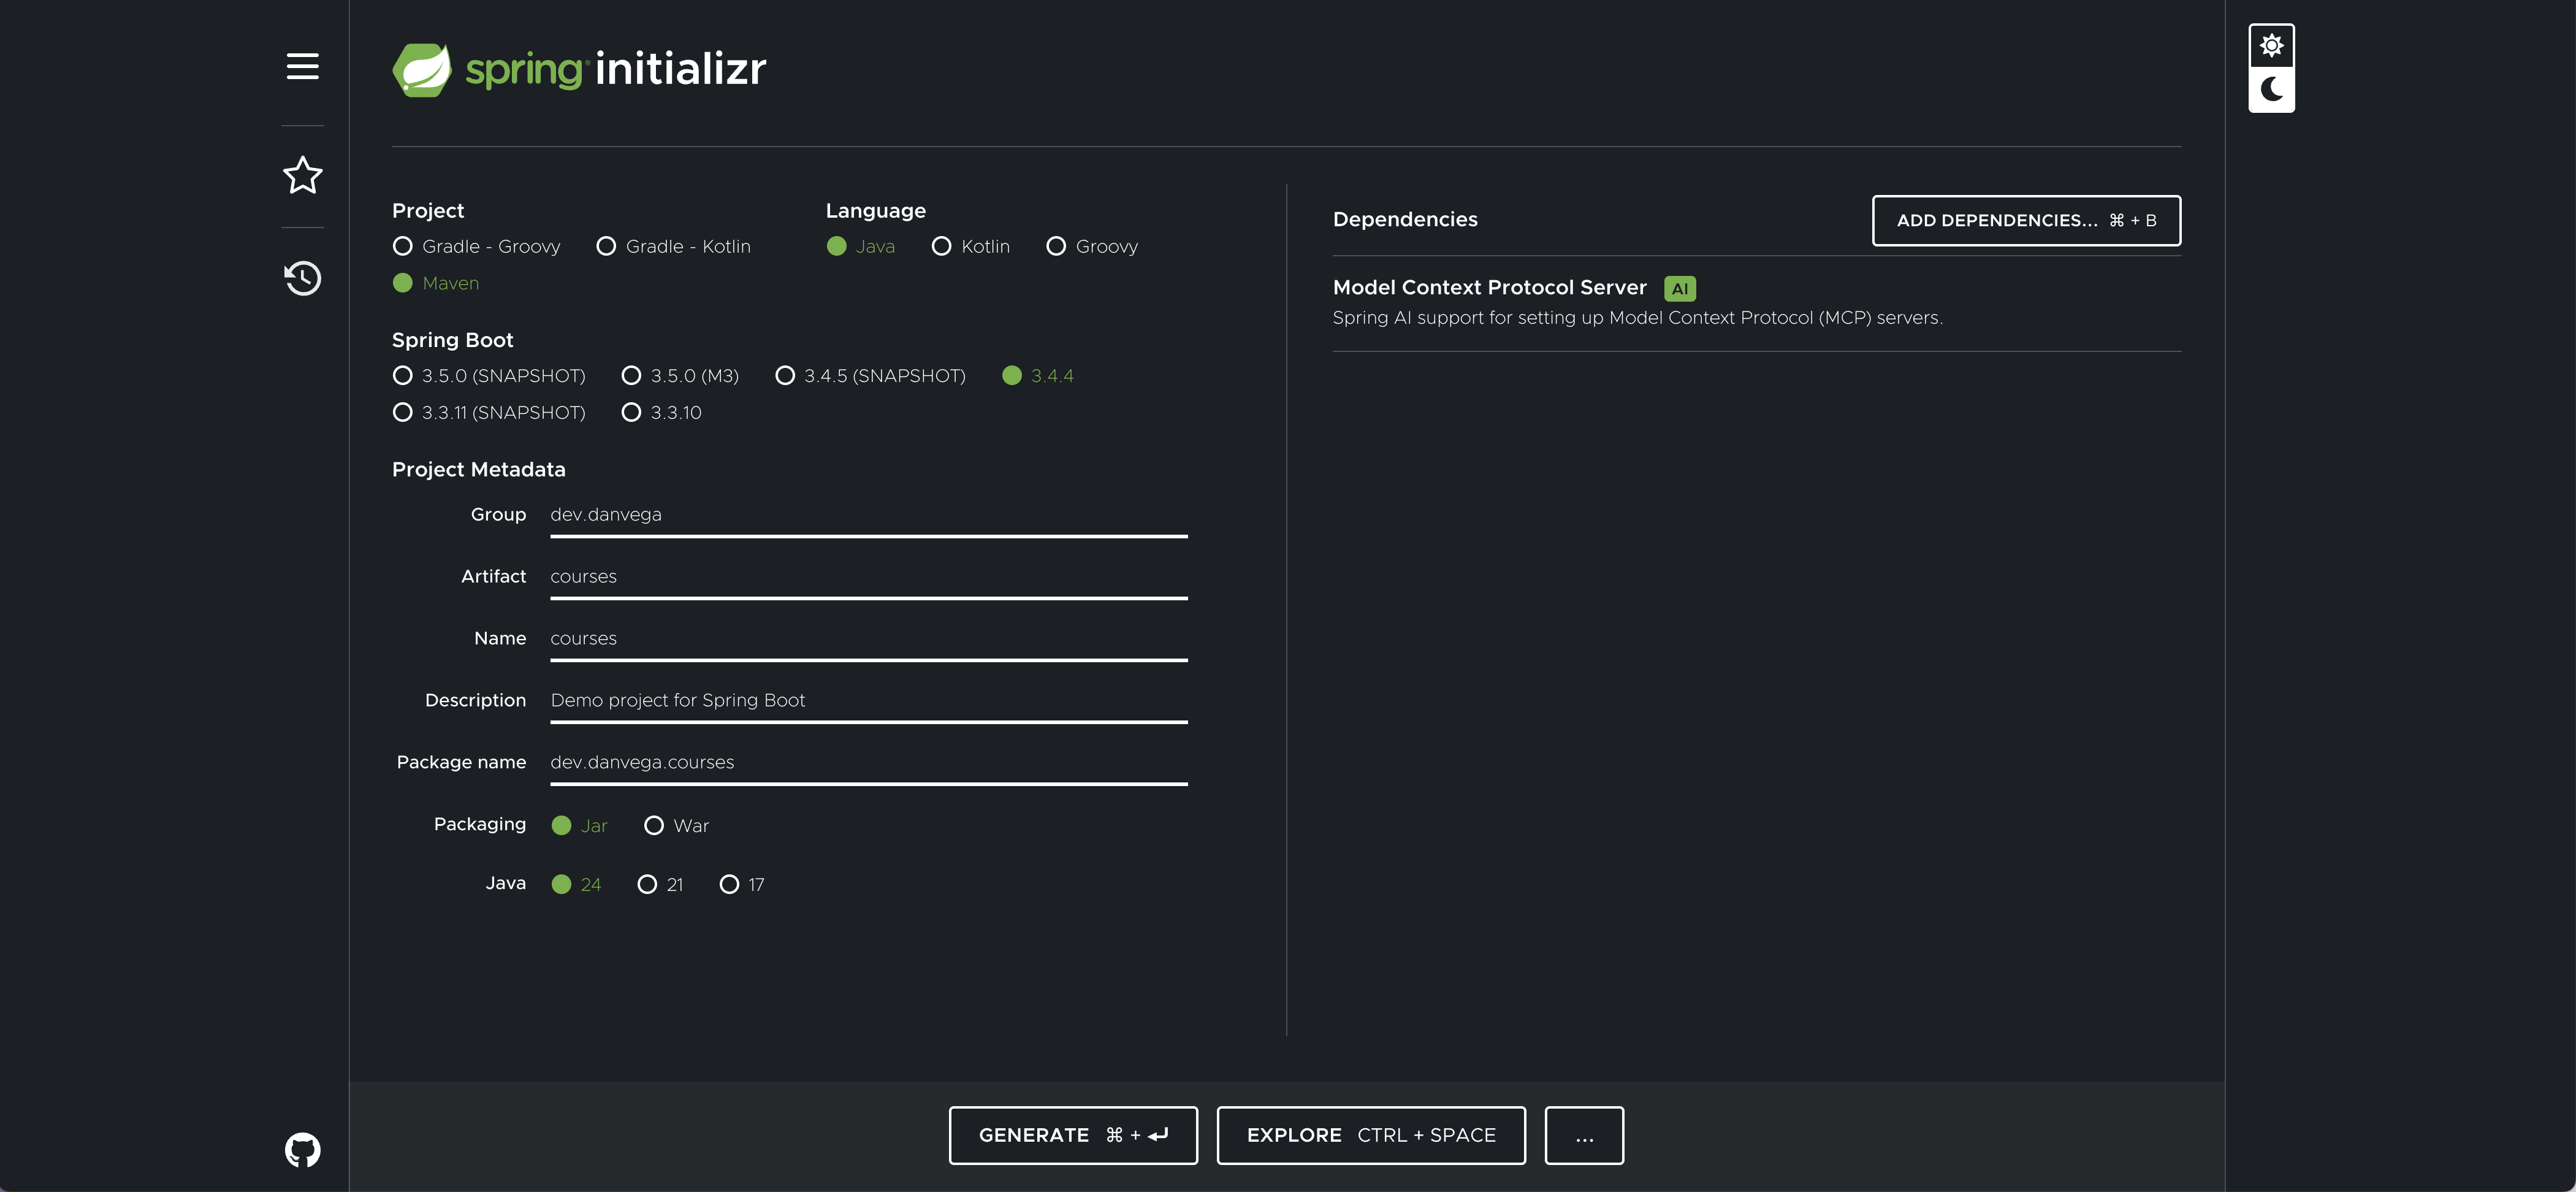
Once you've generated and downloaded the project, open it in your favorite IDE.
Understanding the Project Structure
Let's examine the key components we'll need to create:
- Course.java: A simple record to represent our course data
- CourseService.java: A service class that will expose our course data through MCP tools
- CoursesApplication.java: Our main application class with tool registration
- application.properties: Configuration for our MCP server
Step 1: Creating the Data Model
First, let's create our Course class. Since we're using Java 17+, we can use records for a concise, immutable data structure:
public record Course(String title, String url) {
}
This simple record will store the title and URL for each course.
Step 2: Implementing the Service Layer
Next, let's create our CourseService class. This is where we'll define our MCP tools using the @Tool annotation:
@Service
public class CourseService {
private static final Logger log = LoggerFactory.getLogger(CourseService.class);
private List<Course> courses = new ArrayList<>();
@Tool(name = "dv_get_courses", description = "Get a list of courses from Dan Vega")
public List<Course> getCourses() {
return courses;
}
@Tool(name = "dv_get_course", description = "Get a single course from Dan Vega by title")
public Course getCourse(String title) {
return courses.stream()
.filter(course -> course.title().equals(title))
.findFirst()
.orElse(null);
}
@PostConstruct
public void init() {
courses.addAll(List.of(
new Course("Building Web Applications with Spring Boot (FreeCodeCamp)",
"https://youtu.be/31KTdfRH6nY"),
new Course("Spring Boot Tutorial for Beginners - 2023 Crash Course using Spring Boot 3",
"https://youtu.be/UgX5lgv4uVM")
));
}
}
The key aspects of this service class are:
- @Tool Annotation: Transforms regular methods into MCP-compatible tools
- Tool Properties: Each tool has a unique name and descriptive text to help AI models understand its purpose
- Method Parameters: Parameters become tool arguments that can be passed by the AI model
- Return Types: The data returned is automatically serialized into a format the AI model can understand
For this example, we're using an in-memory list to store our courses, populated in the @PostConstruct method. In a real application, you might connect to a database or external API.
Step 3: Registering Tools with MCP
Now, let's set up our main application class to register our tools with the MCP framework:
@SpringBootApplication
public class CoursesApplication {
public static void main(String[] args) {
SpringApplication.run(CoursesApplication.class, args);
}
@Bean
public List<ToolCallback> danTools(CourseService courseService) {
return List.of(ToolCallbacks.from(courseService));
}
}
The ToolCallbacks.from() method scans the service class for @Tool annotations and registers them with the MCP framework. This is where Spring's component scanning capabilities really shine - with just a few lines of code, we've registered our tools.
Step 4: Configuring the MCP Server
Finally, let's configure our MCP server through application.properties:
spring.main.web-application-type=none
spring.ai.mcp.server.name=dan-vega-mcp
spring.ai.mcp.server.version=0.0.1
# NOTE: You must disable the banner and the console logging
# to allow the STDIO transport to work !!!
spring.main.banner-mode=off
logging.pattern.console=
This configuration does several important things:
- Disables Web Application: Since we're using STDIO transport for MCP, we don't need a web server
- Sets Server Name and Version: Identifies our MCP server to clients
- Disables Banner and Console Logging: Critical for STDIO transport to work correctly
The STDIO transport mechanism allows our MCP server to communicate through standard input/output streams, which is what Claude Desktop uses for local MCP servers.
Building and Testing the MCP Server
With all components in place, let's build our application:
mvn clean package
This will create a JAR file in the target directory that we can use to run our MCP server.
Connecting to Claude Desktop
To use our MCP server with Claude Desktop, we need to register it in the Claude Desktop configuration file. On macOS, this is located at:
~/Library/Application Support/Claude/claude_desktop_config.json
Add our MCP server to the configuration:
{
"dan-vega-mcp": {
"command": "/path/to/java",
"args": [
"-jar",
"/path/to/your/jar/courses-0.0.1-SNAPSHOT.jar"
]
}
}
Make sure to update the paths to match your environment:
- Replace
/path/to/javawith the path to your Java executable - Replace
/path/to/your/jar/courses-0.0.1-SNAPSHOT.jarwith the path to your built JAR file
Save the configuration file and restart Claude Desktop. You should now see your MCP server listed in the Claude Desktop interface, along with the tools it provides.
Testing the MCP Server
To test our MCP server, simply ask Claude a question about the available courses:
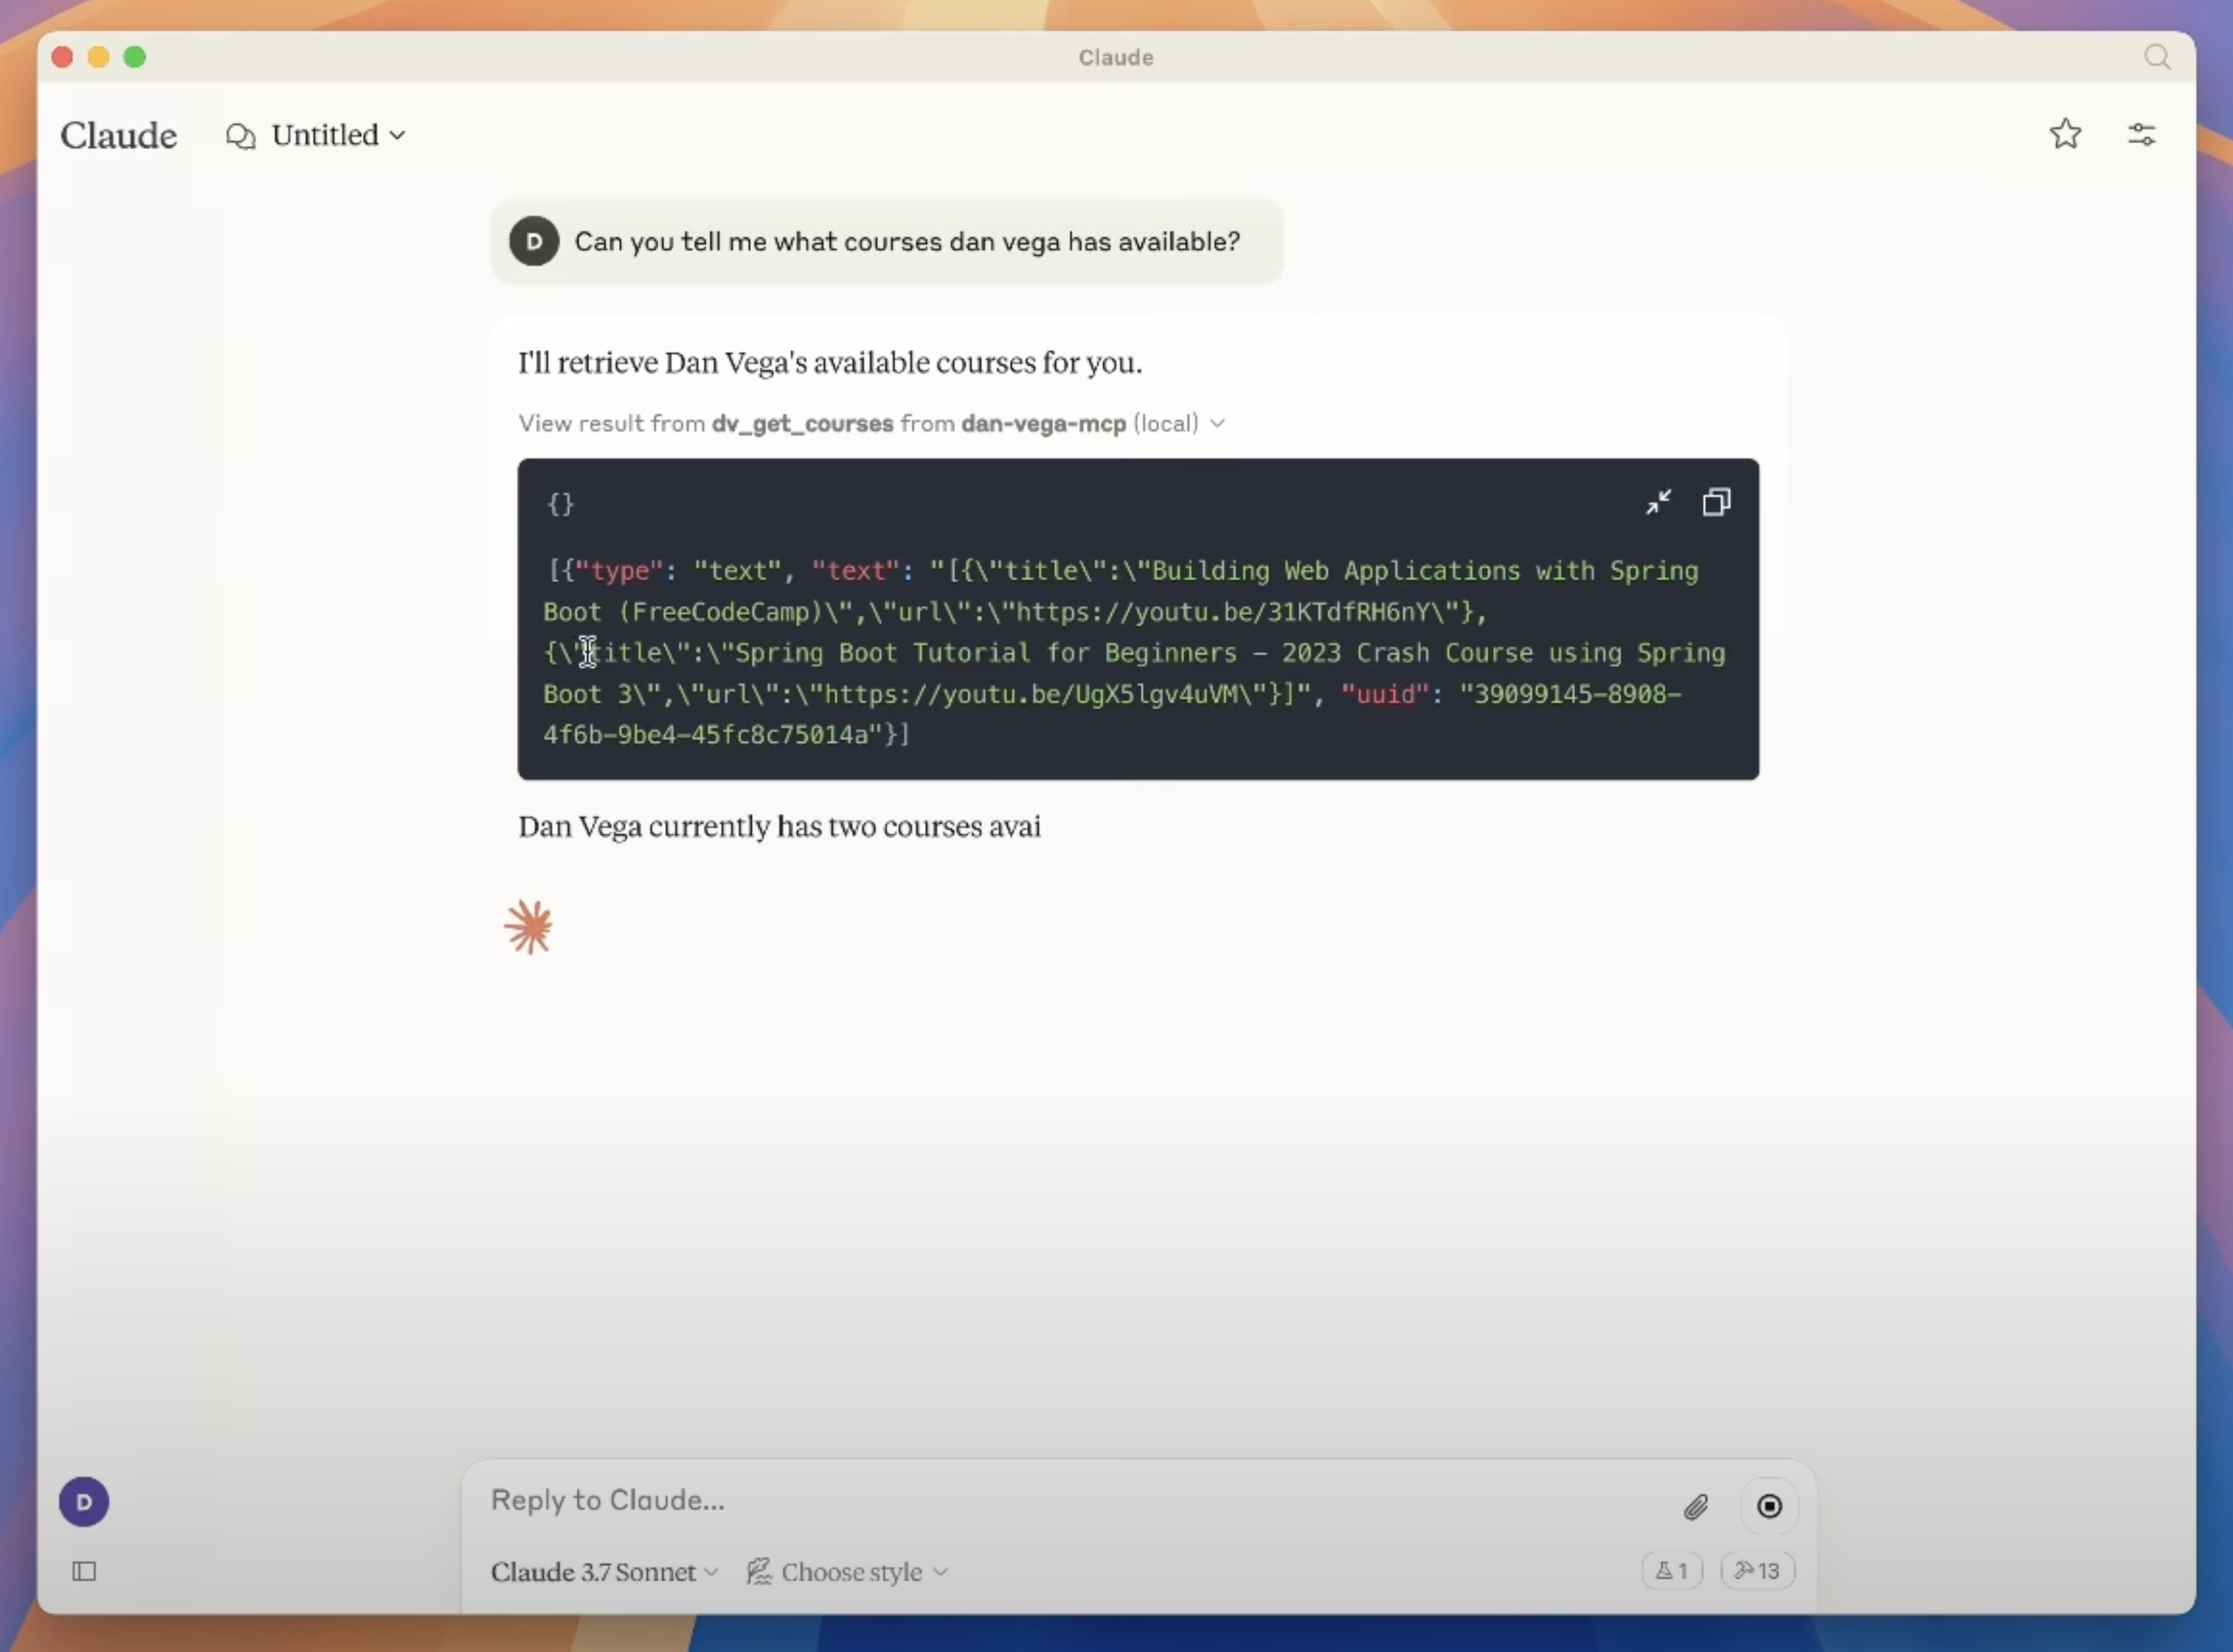
You might ask:
- "What courses does Dan Vega have available?"
- "Can you tell me about Dan's Spring Boot courses?"
Claude will request permission to use the appropriate tool, retrieve the course information from your MCP server, and include it in its response.
Advanced Concepts and Next Steps
Now that you have a working MCP server, here are some ways you could extend it:
Adding More Sophisticated Tools
You can add more complex tools that accept multiple parameters or perform more advanced operations:
@Tool(name = "dv_search_courses", description = "Search courses containing a keyword")
public List<Course> searchCourses(String keyword) {
return courses.stream()
.filter(course -> course.title().toLowerCase().contains(keyword.toLowerCase()))
.collect(Collectors.toList());
}
Creating Native Executables
For easier distribution, you can build your MCP server as a native executable using Spring Native and GraalVM:
<plugin>
<groupId>org.graalvm.buildtools</groupId>
<artifactId>native-maven-plugin</artifactId>
</plugin>
This creates a standalone binary that doesn't require Java to be installed on the target system.
Integrating with External Data Sources
Connect your MCP server to databases, APIs, or other external systems to provide AI models with access to your organization's data:
@Service
public class ProductService {
private final ProductRepository repository;
@Tool(name = "find_products", description = "Find products matching criteria")
public List<Product> findProducts(String category, Double maxPrice) {
return repository.findByCategoryAndPriceLessThan(category, maxPrice);
}
}
Conclusion
Congratulations! You've built your first MCP server with Spring AI. This opens up a world of possibilities for extending AI models with your custom data and services.
The Model Context Protocol bridges the gap between powerful AI models and your specific domain knowledge, allowing you to create more useful and context-aware AI applications. With Spring AI's MCP server implementation, Java developers can easily participate in this exciting ecosystem.
What will you build with your new MCP server? Perhaps a connection to your CRM system, a gateway to your internal knowledge base, or a tool to manipulate your organization's data? The possibilities are endless!
Resources
- Spring AI Documentation
- Model Context Protocol Specification
- Spring AI GitHub Repository
- My Introduction to Model Context Protocol
Happy coding!
Related Articles
My CYC 2025 Demo: Why Building MCP Servers in Java Just Got Ridiculously Simple
Learn how Spring AI 1.1.0-M2 makes building MCP servers in Java incredibly simple with just annotations. No callbacks, no complex setup. Includes complete code from my Commit Your Code 2025 conference demo, showing how to expose your Java application's data to Claude and other AI assistants.
What's New in Spring Framework 7 and Spring Boot 4
A comprehensive look at the new features in Spring Framework 7 and Spring Boot 4, including code examples and resources to help you get started
JDK 24's Major Improvement: Virtual Threads Without Pinning
Discover JDK 24's breakthrough enhancement that eliminates virtual thread pinning with synchronized blocks and methods. This comprehensive guide explores how this change revolutionizes Java concurrency, dramatically improving scalability for Spring Boot applications with legacy synchronized code. You'll learn about the technical details of thread pinning, see practical performance comparisons, and...